A First-Timer's Guide to Product Photography
Brian Barr
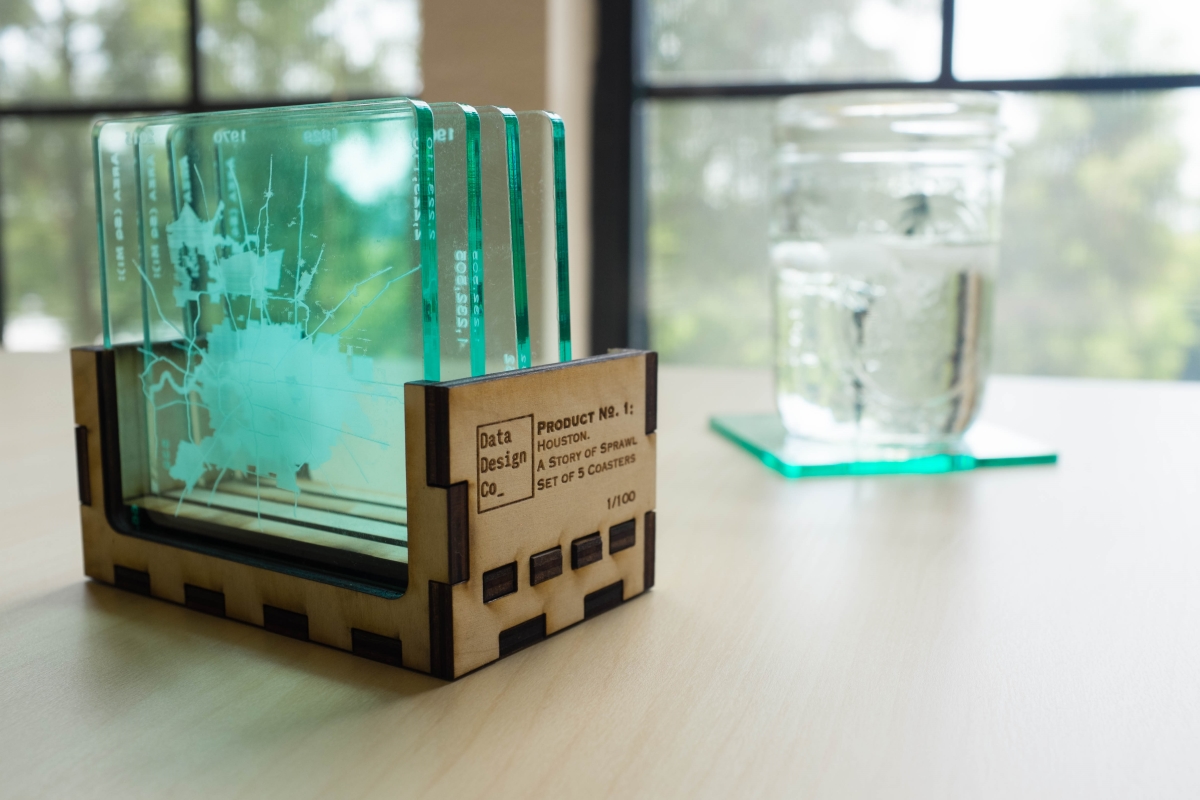
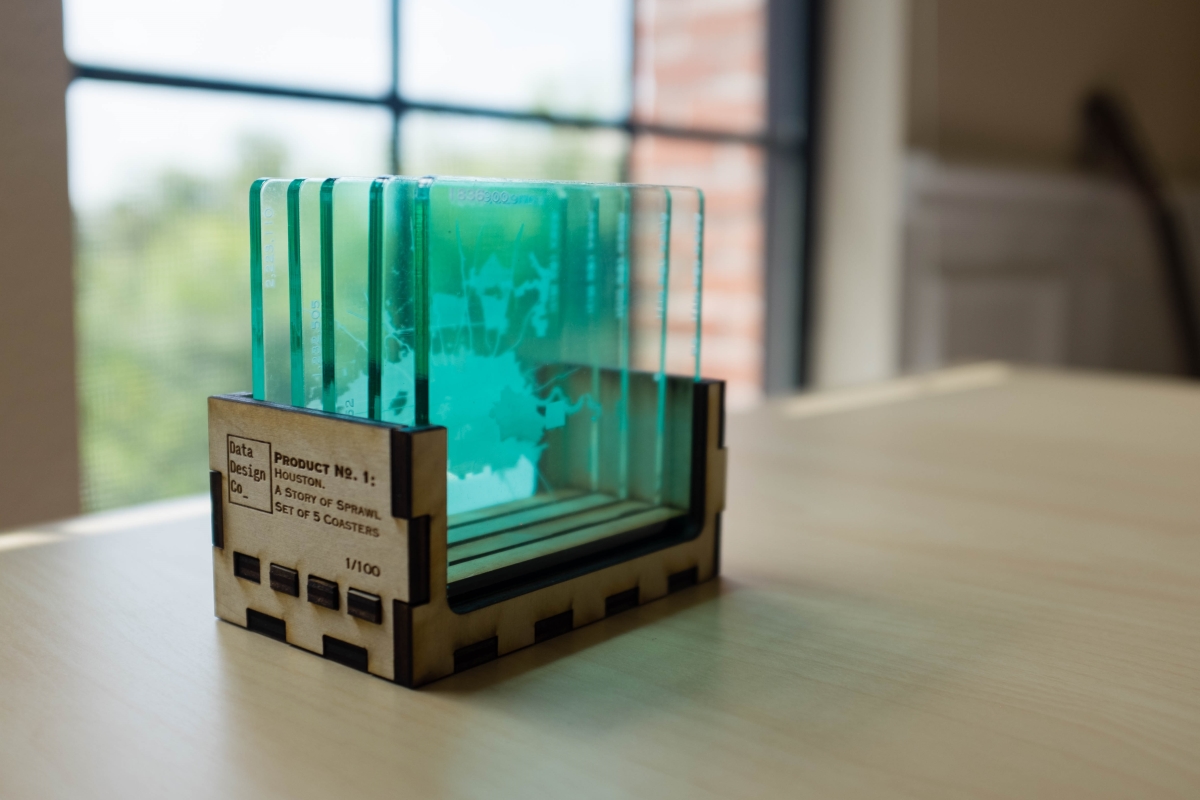
A few weeks ago I shot the product photos for one of our first products (Houston | A Story of Sprawl in 5 Coasters) and I thought that I would give a few tips for the process. This was my first time doing this sort of shoot and I certainly learned a lot about what to do and what not to do.
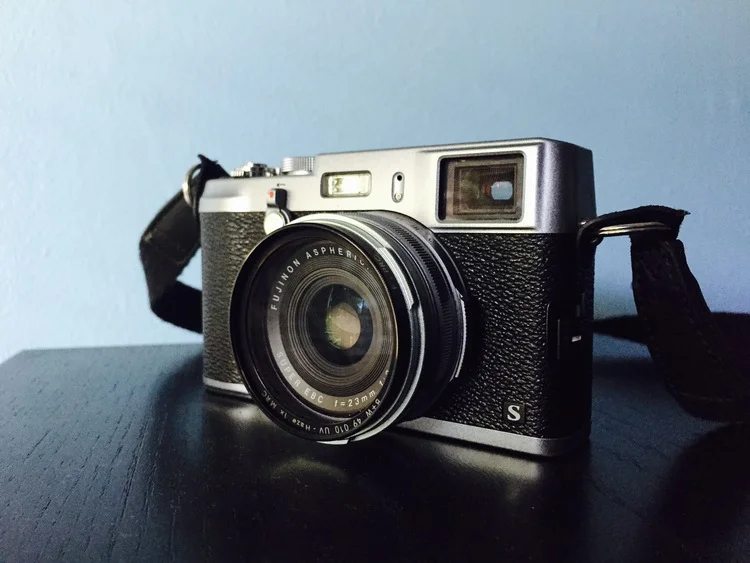
My first thought is that product photography doesn't have to be an expensive venture. I already had a camera (the Fuji X100s) but I didn't have any lights or a big studio to work with. Instead, I set up in my apartment near a large window and used the diffuse natural light from the sun coming through the clouds to light the coaster.
Being able to adjust exposure, focus, and aperture are nice features for this type of photography and will certainly be found in most DSLR cameras, but even the newer iPhones have a pretty good suite of tools (such as VSCO Cam) you can use to get the job done. If you do have a choice, a longer lens such as an 85mm or a 100mm may be better options than the 35mm I was using which forced me to get uncomfortably close to the coasters a few times. I would definitely recommend taking the same shot several times while adjusting the aperture or focus so as to have a variety of looks to choose from when post-processing. Film is cheap these days. If you can, I would also recommend shooting in macro mode so that you can capture a lot of the detail of your product.
Shot of the Fuji X100s I used for this shoot. This photo was taken using only an iPhone 6.
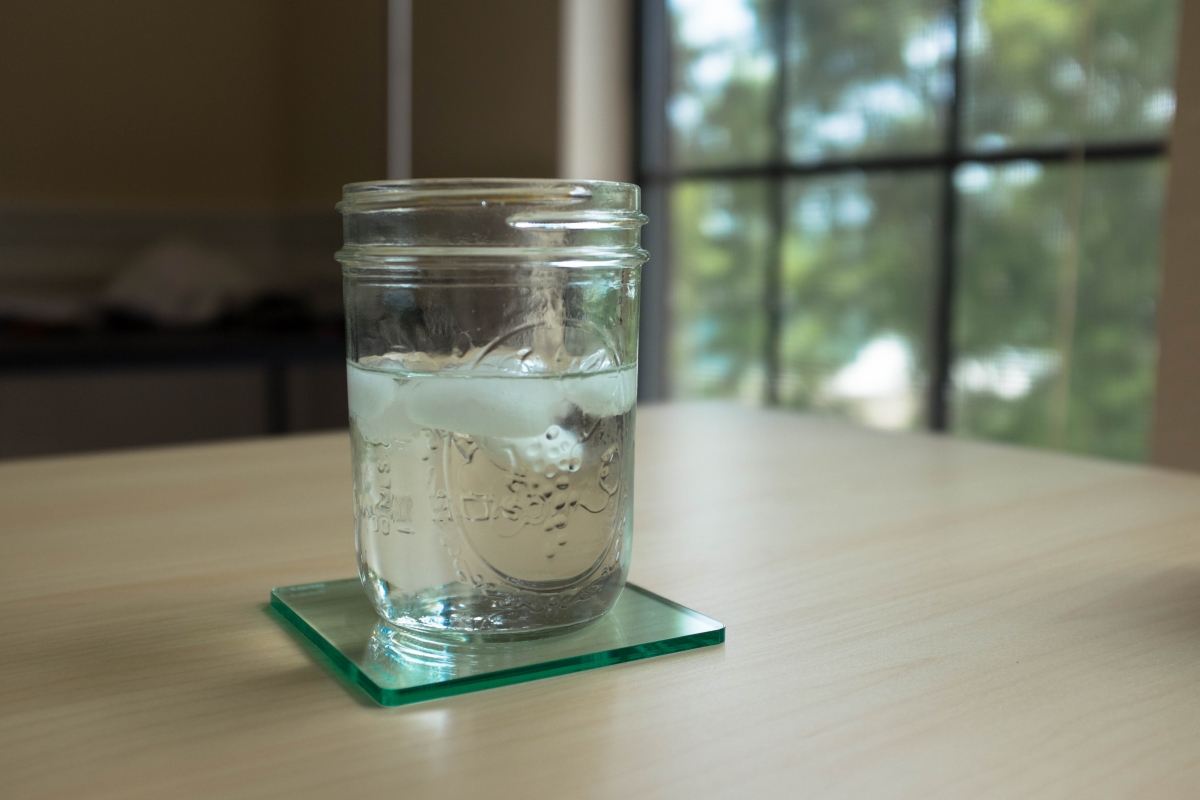
My last recommendation is to think about the different use cases for the product and shoot in those environments if possible. If your customer sees your product in use, my thought is that they will be more likely to picture themselves in that use case and purchase your product.
-Brian


